

Three Point Softbox Lighting Setup
₨ 52,000.00
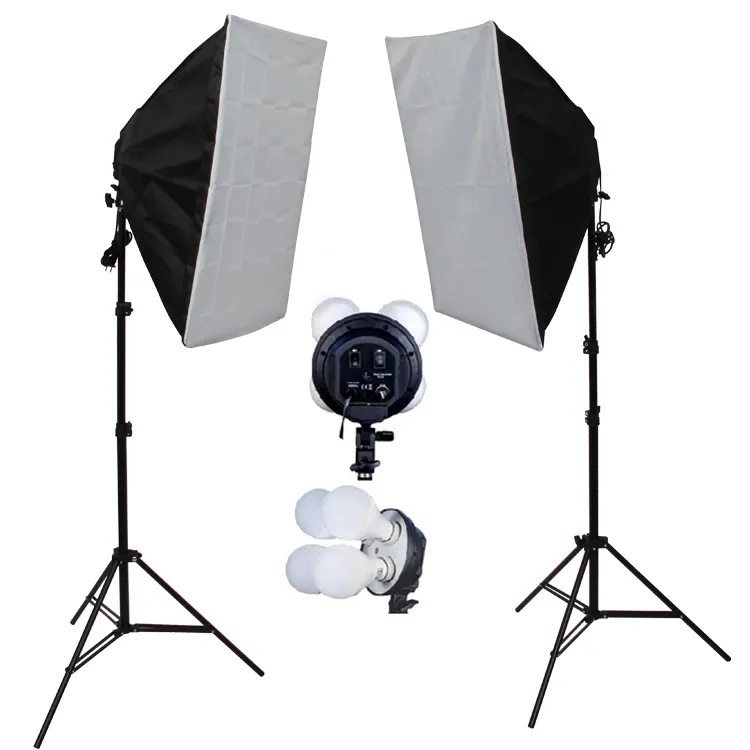
2x 4 Saver Softbox + Diffuser
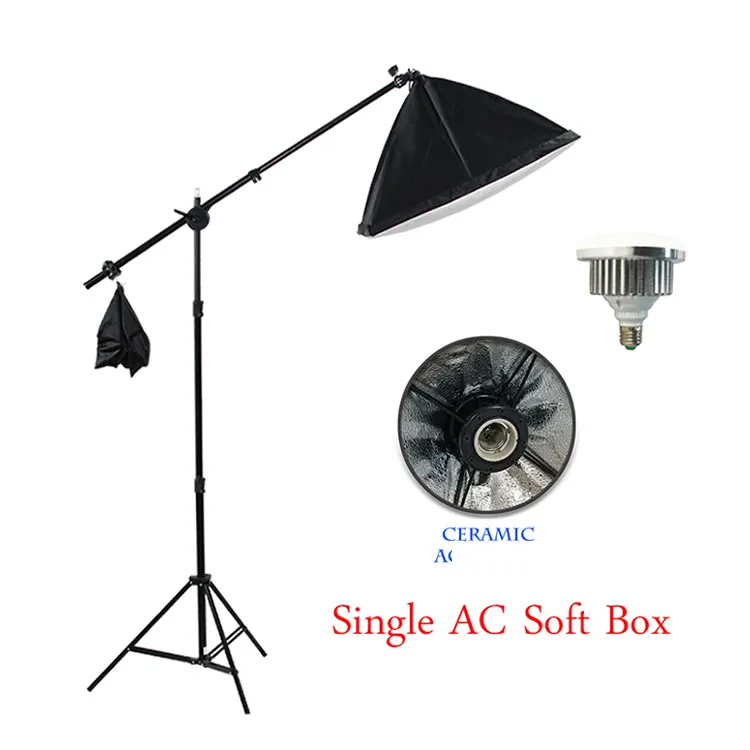
1x Singal Softbox + Remote Bulb
2x Lighting Stand
1x Boom Arm Stand + Sand Bag
Related Products
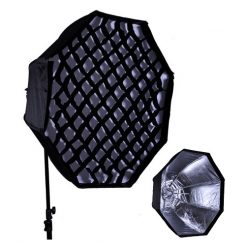
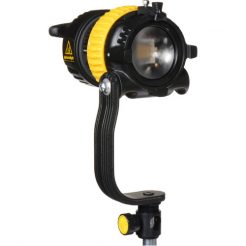
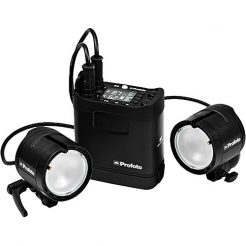
Photography Studio Light Setup Price in Pakistan
3 Point 4 Saver Softbox Lighting Setup Overview
Mastering the Art of 3-Point Lighting: Illuminate Your World
The 3-point lighting setup is a cornerstone technique in photography, videography, and cinematography, enabling creators to achieve professional-quality results. By strategically positioning three light sources around a subject, this method helps control shadows, highlights, and overall illumination. Whether you’re aiming to add depth, dimension, or drama, mastering this approach can elevate your visual projects to new heights. In this comprehensive guide, we’ll delve into the components of a 3-point lighting setup and share actionable tips to use it effectively.
What is 3-Point Lighting?
3-point lighting is a methodical approach to illuminating a subject using three primary light sources:
- Key Light – The main light source.
- Fill Light – Reduces shadows created by the key light.
- Backlight (Rim Light) – Separates the subject from the background.
This combination creates a balanced and visually appealing composition, emphasizing the subject’s features while maintaining depth and realism.
The Three Essential Light Sources
1. Key Light: The Primary Source of Illumination
The key light is the cornerstone of any 3-point lighting setup. Positioned at a 45-degree angle from the subject and slightly above eye level, it serves as the main light source.
- Purpose: Provides the primary illumination and defines the subject’s shape and features.
- Tips for Use:
- Use a softbox or studio light for a gentle, flattering look.
- Experiment with a spotlight for a dramatic, high-contrast effect.
- For outdoor shoots, natural sunlight can act as your key light.
The key light’s intensity should dominate, as it sets the overall tone and mood of the scene.
2. Fill Light: Soften Shadows for Balance
The fill light complements the key light by reducing shadows and maintaining a natural appearance. It’s typically placed on the opposite side of the subject, also at a 45-degree angle.
- Purpose: Balances the harsh shadows cast by the key light without overpowering it.
- Tips for Use:
- Use diffused panels or reflectors for a softer effect.
- Keep the intensity lower than the key light to maintain depth.
- Adjustable LED lights can provide precise control over brightness and color temperature.
A well-placed fill light ensures important details aren’t lost in the shadows while preserving the overall depth of the composition.
3. Backlight (Rim Light): Adding Depth and Separation
The backlight, or rim light, is positioned behind the subject to illuminate their outline. This light creates a halo effect, enhancing the sense of depth and dimension.
- Purpose: Separates the subject from the background and adds a three-dimensional effect.
- Tips for Use:
- Angle the backlight to highlight the subject’s head and shoulders.
- Use gels or colored lights for creative effects.
- Ensure it’s not too overpowering to maintain a balanced look.
The backlight is crucial for achieving a polished and professional aesthetic, especially in studio and cinematic settings.
Tips for Perfecting Your 3-Point Lighting Setup
Experiment with Angles and Distance
Small adjustments in the position and distance of each light source can significantly alter the final look. Take time to fine-tune each element for your desired effect.
Use Light Modifiers
Light modifiers, such as softboxes, diffusers, and reflectors, help control light intensity and spread. These tools can soften harsh shadows, create even lighting, and add a natural feel to your composition.
Maintain Consistent Color Temperature
Ensure all your light sources have matching color temperatures to avoid unwanted color casts in your final images or footage. Use white balance settings on your camera to achieve uniformity.
Incorporate Additional Lights
For more complex setups, consider adding lights to accentuate specific features or create unique effects. For example, a hair light can add further emphasis to the subject’s silhouette.
Practice and Experiment
Mastering 3-point lighting takes practice. Experiment with different subjects, settings, and light sources to discover what works best for your creative vision.
Conclusion
The 3-point lighting setup is a versatile and powerful technique for enhancing the visual impact of your projects. By understanding the roles of the key light, fill light, and backlight, you can create images and videos that captivate and engage your audience. With practice and experimentation, this essential lighting technique will become a cornerstone of your creative toolbox. So, let your imagination shine and illuminate your world with the art of 3-point lighting!
FAQs For 3 Point 4 Saver Softbox Lighting Setup
What is the purpose of 3-point lighting?
3-point lighting is designed to provide balanced and professional-looking illumination by using three light sources. This setup enhances the subject’s appearance, creates depth, and ensures visual clarity.
Can I use natural light for a 3-point lighting setup?
Yes, natural light can serve as your key light. You can use reflectors or diffusers to simulate fill and backlight effects.
Do I need expensive equipment for 3-point lighting?
Not necessarily. You can use affordable LED lights, desk lamps, or natural sunlight along with DIY reflectors and diffusers to create a 3-point lighting effect.
How do I avoid harsh shadows in my setup?
Use diffused light sources such as softboxes or translucent panels. Adjust the angles and distance of the lights to soften the shadows.
Is 3-point lighting only for studios?
No, 3-point lighting can be used in various settings, including outdoor shoots, home studios, and on-location filming. The principles remain the same, regardless of the environment.
Specification: Three Point Softbox Lighting Setup
|


There are no reviews yet.